Referral
 Points of sale
Here is a detailed protocol for working cleanly with an Ergo Piercing kit, ensuring asepsis and supporting your client through successful healing.
1) Area preparation
Hair: tie it back or offer a cap.
Isolation: Ergo kits include a sterile ear drape (adhesive opening around the auricle): area isolated and sterile despite hair.
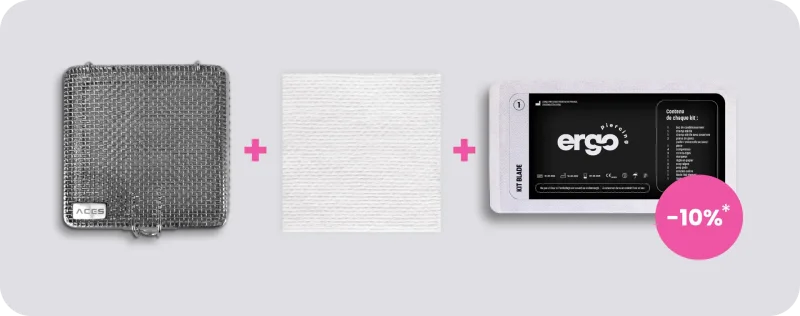
Tray: open the kit, lay out gloves, antiseptic pads, pad, marker, needle or catheter, insertion taper and jewelry.

Simplify the way you work:
with all-in-one equipment, ready to use, sterile and single-use.
 Order Ergo kits
2) Step sequence
1. Reception & consent: questionnaire, contraindications, parental authorization if needed.
2. Hand hygiene / PPE: washing, gloves, tray preparation.
3. Initial cleansing and degreasing (dry thoroughly).
4. Marking with violet marker (clear, aligned, consistent dots).
5. Antisepsis while protecting the marking.
6. Draping: ear drape or cap + standard sterile drape.
7. Positioning: stable client, validated angle.
8. Piercing (chosen technique) + jewelry insertion.
9. Final check (hemostasis, rinsing, photo if needed).
10. Traceability: kit + jewelry labels on file / discharge form.
11. Client briefing: aftercare and restrictions (see section 5).
3) Available techniques
In-out (back to front): fluid, minimally traumatic, suited to welded flat discs (EU standard).
Catheter + clamp: simple, instructive, ideal for beginners.
Blade + clamp: more precise, requires dexterity.
Freehand blade: reserved for experienced piercers (possible on helix, conch, snug).
Also read: Catheter or blade (needle): which needle for a successful piercing?
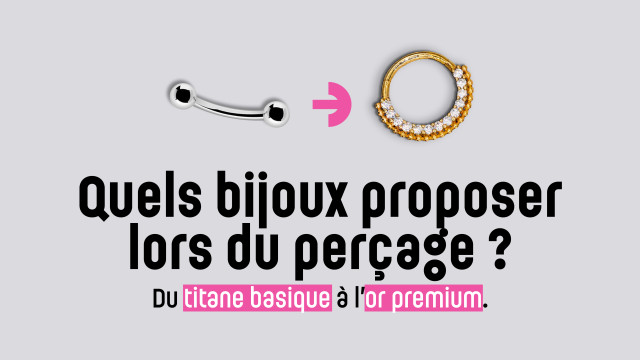
4) Jewelry length selection
One of the most critical points: cartilage is poorly vascularized, so a sizing error greatly complicates healing.
Avoid:
Too long (10-12 mm on a thin ear): friction, snagging, instability.
Too short (6-7 mm on a thick ear): compression, swelling, pain, risk of embedding.
Indicative guidelines (adjust to each morphology):
Lobe: 8-10 mm.
Helix: 7-9 mm.
Anti-helix: 6-7 mm.
Conch: 8-9 mm.
Tragus / Anti-tragus / Snug: 6.5-8 mm depending on cartilage width.
The piercer's role: monitor the size and adapt.
Also read: How to choose the right piercing jewelry?
The importance of downsizing
Always remind the client: after 6 to 8 weeks, come back for a shorter jewelry piece.
This prevents friction, snagging and excessive movement that disrupt healing.
It is a key step in the success of a cartilage piercing.
Refer and save
Get 15% off for each successful referral.
Your referrals get 10% off their first order.
 Get my referral code
5) Client instructions: hygiene & contraindications
Cartilage healing is long and unstable: the piercer's role is also educational.
For 1 to 1.5 months:
No pets in the bedroom.
No pool, spa, steam room.
Do not touch or rotate the jewelry.
Do not sleep on it.
No headphones or earbuds pressing on it.
Do not press the phone against the pierced ear.
Avoid clothing/accessories that rub (beanies, tight scarves).
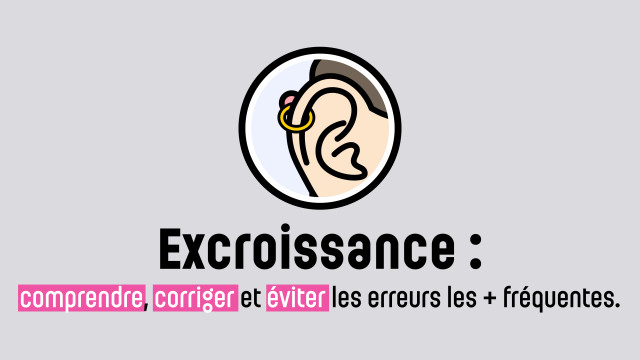
Warning signs: increasing pain after day 3, hard swelling, local heat, purulent discharge: see the client promptly, potentially refer to a doctor.
6) Traceability & responsibility
Stick the kit + jewelry labels to the client file / discharge form.
Note the area, technique, length/diameter, jewelry reference.
This is proof of: sterile, traceable material, used by a professional trained in hygiene.
Conclusion
Ears = demanding zone: hair, access, fragile cartilage, precise jewelry sizing, slow healing.
Ergo Piercing kits provide real value:
Sterile ear drape,
Simplified traceability,
Catheter / blade / freehand compatibility,
Sterile equipment ready to use.
Combining the Ergo kit with sterile titanium jewelry, and systematically reminding about downsizing at 6-8 weeks, means ensuring a safer, more stable and more professional piercing.
Also read: Nose piercing kit: standards, best practices and suppliers in 2025